Your Cart is Empty
Order for In-store Pickup or Local Delivery

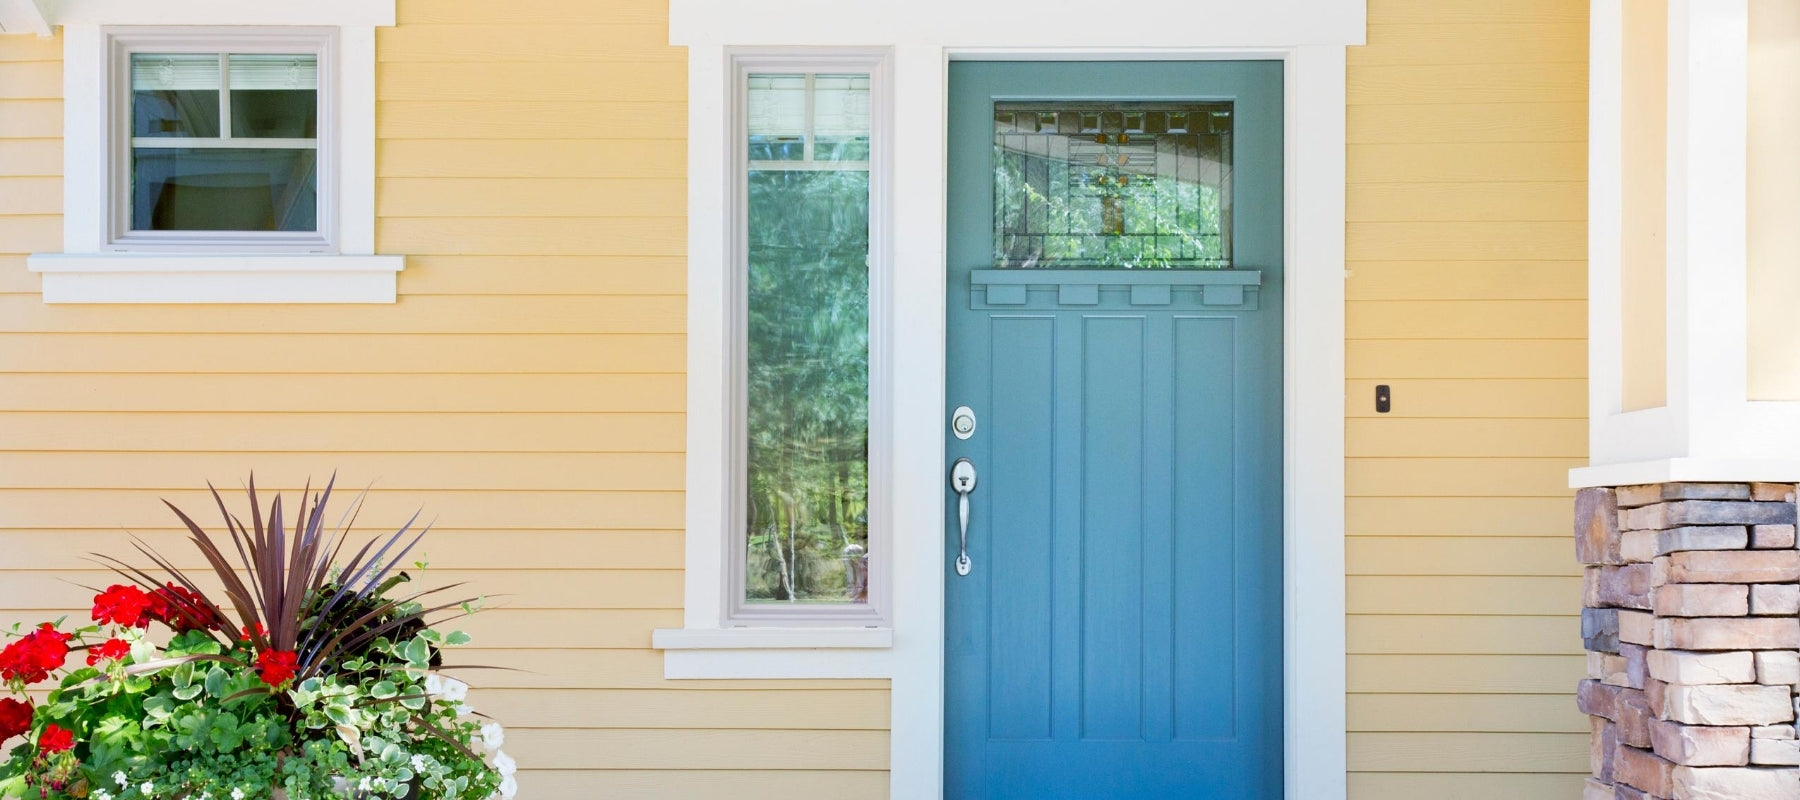
Have you heard the phrase, “You will never get a second chance to make a first impression”? As many have experienced this first hand, they understand how crucial a first impression is. But first impressions don’t start when you say the first hello, first impressions start when the newcomer walks up the front steps to your door. No matter the color, your front door is more than a transition from the outdoors in, your front door is the first hello. Make an entrance this fall by following our 6 easy steps to paint your front door to freshen up your curb appeal.
Before buying your paint and primer you need to test to see if the existing color on your door is oil-based or water-based. To do this you:
If you have an oil-based door you will need to prime it with Fresh Start All-Purpose Primer. This product allows you to then paint with any water-based exterior paint.
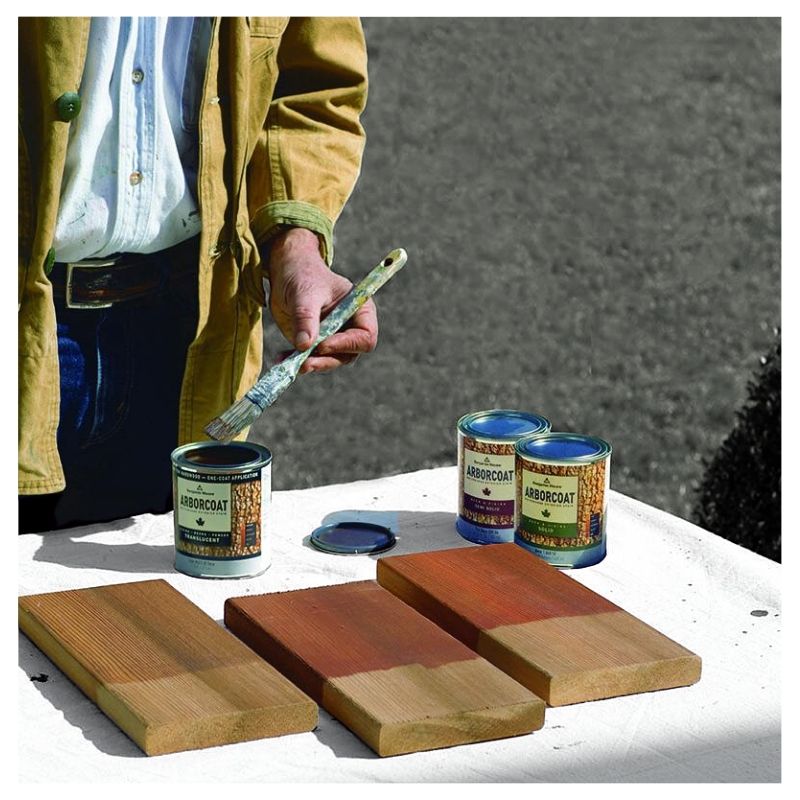
When choosing a color make sure you bring your color chips outside before you commit to a color. The sun tends to bring out pinky undertones of colors that you might not see in indoor lighting. Once you have chosen your color and sheen you need to find a nice day! Fall is great for outdoor projects as the weather is not too hot and not too cold. Find a day where it is not windy so dust and debris don’t blow onto your master piece, and find a tarp or old door to keep out bugs, dirt and critters from invading your house while you work on updating your front door. Now you are ready to start your project in 6 easy steps!

Step 1:
Remove the door from your house by wedging a screwdriver in the joints between the hinges and hinge pin and tapping lightly with a hammer until the pin comes loose. Put the door on a pair of sawhorses and remove all hardware such as knobs.
Step 2:
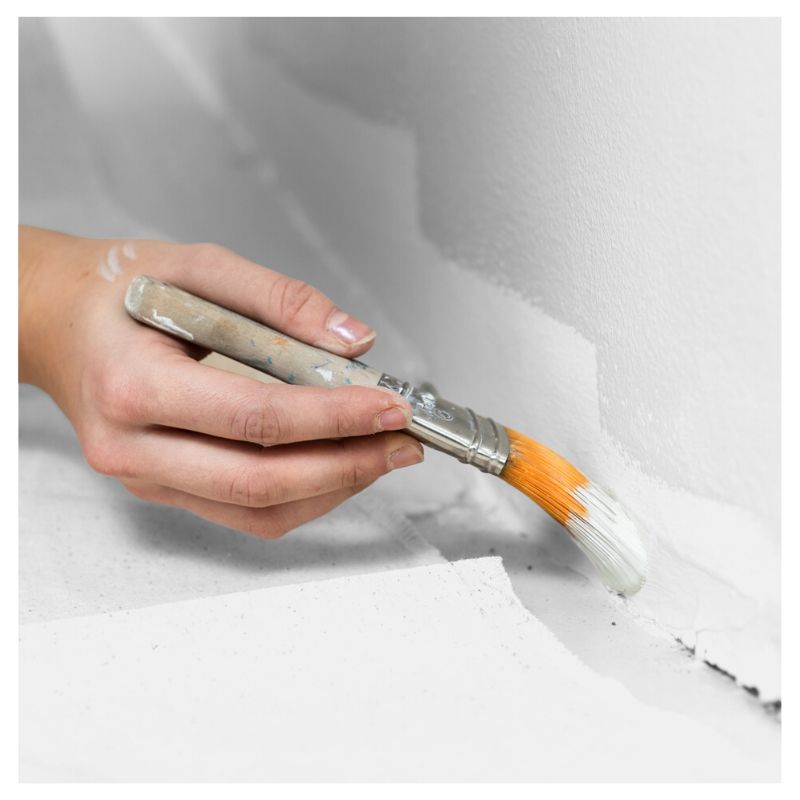
Wipe the door to make sure it is clean and then scrape off all blistered and peeling paint. Sandpaper the door until the surface feels smooth. Repair cracks with paintable filler by working the filler in with a putty knife. Let it dry and sand until smooth. Before you prime, wipe away all extra dust with a damp cloth.
Step 3:
Use painter’s tape to cover anything you want protect and keep free of paint such as windows or glass accents.
Step 4:
Apply a coat of primer to the front and all the side edges with a foam roller or wide brush. Don’t skip this step as priming prevents the door from absorbing moisture and smooths out the texture and keeps the paint from seeping into the wood.
Step 5:
Now for the fun stuff! When the primer is dry you can paint your door. Follow this order:

Everyone asks how to paint the sides of a door when you have different colors on either side. The answer is that the two side edges get a different color. The hinged edge gets the exterior color when the door swings in. If the door swings out, the side with the knob gets the exterior color.
Step 6:
Refer to your paint specialist at Creative Paint for recommendations on drying times between coats. Apply a second coat of paint for a smoother finish and truer color. When the door is no longer tacky to touch, you can reinstall the hardware and put your door back on your house.
After you reinstall your door, step back to the curb and appreciate your hard work! First impressions are no longer an issue as your house now looks like the new kid on the block.


Sheen is the glossiness of the paint’s finish. Low Lustre are more lustrous and have more warmth and depth than flat paint. Soft Gloss paints are slightly glossy, radiant and are great at resisting stains and easy to clean. High-gloss paint is the shiniest due to having the highest light-reflective characteristics. We recommend for doors using a low Lustre or soft gloss.
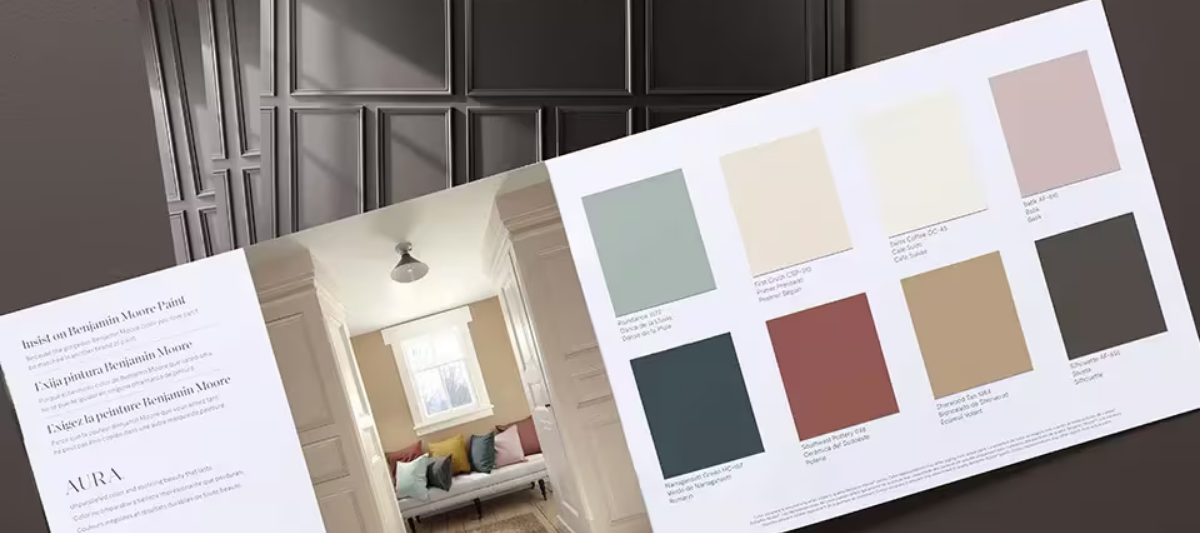

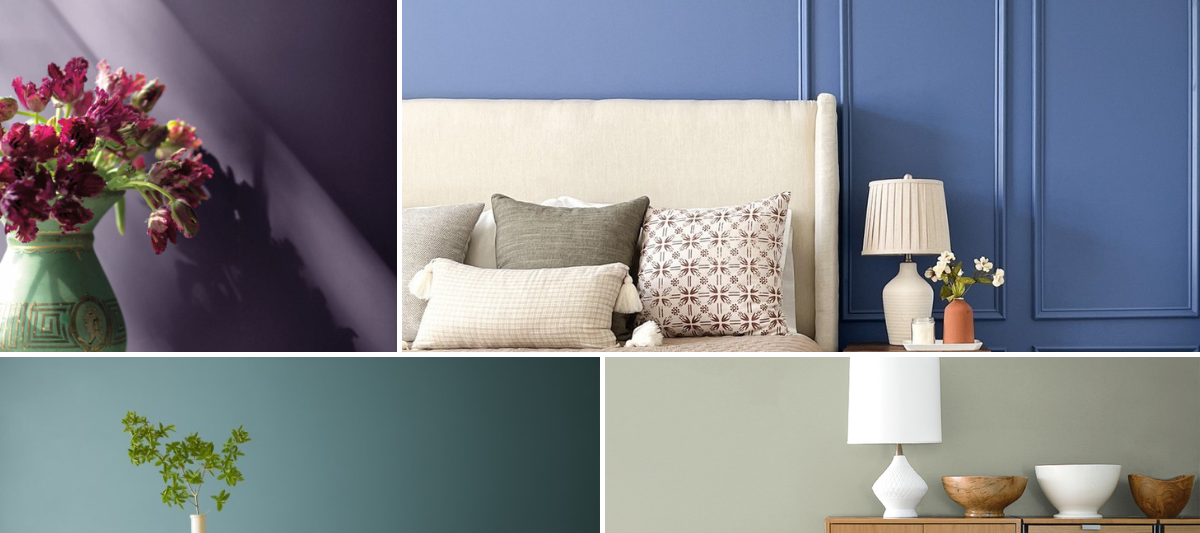
Find fresh color inspiration for 2026 with Benjamin Moore’s new Color of the Year and Color Trends Palette. Silhouette is a study in balance — rich yet restrained, moody yet inviting.
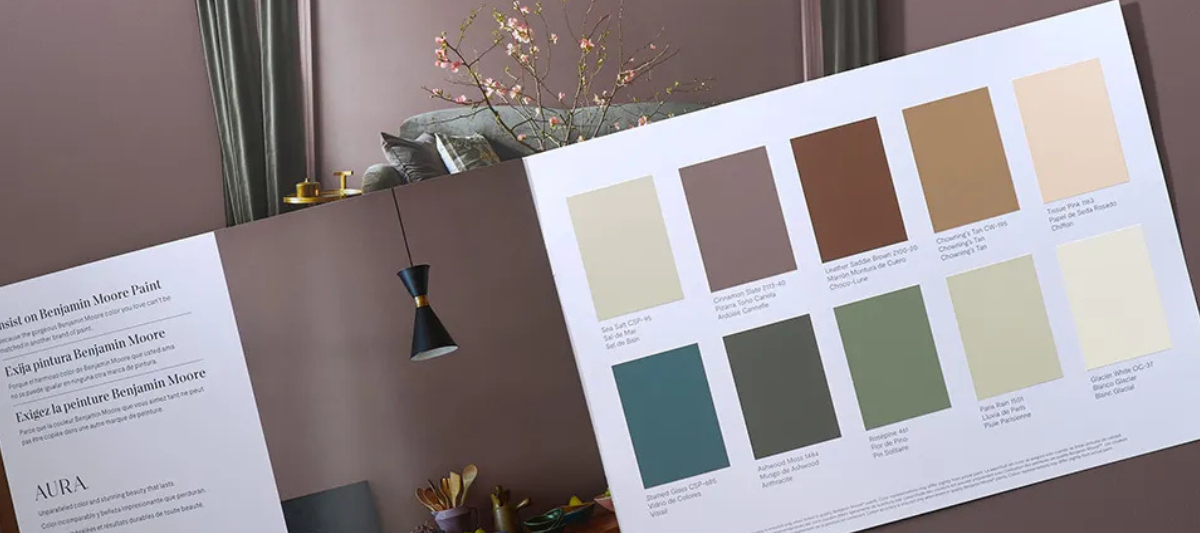

Every year, paint enthusiasts and interior designers eagerly await the announcement of Benjamin Moore’s Color of the Year, a paint trend forecast that sparks excitement and debate. Whether people are quick to embrace the color or need time to warm up to it, the influence on paint and design trends is undeniable. For 2025, Benjamin Moore introduces Cinnamon Slate (2113-40), a color that’s set to redefine how we approach interior paint choices.