Your Cart is Empty
Order for In-store Pickup or Local Delivery

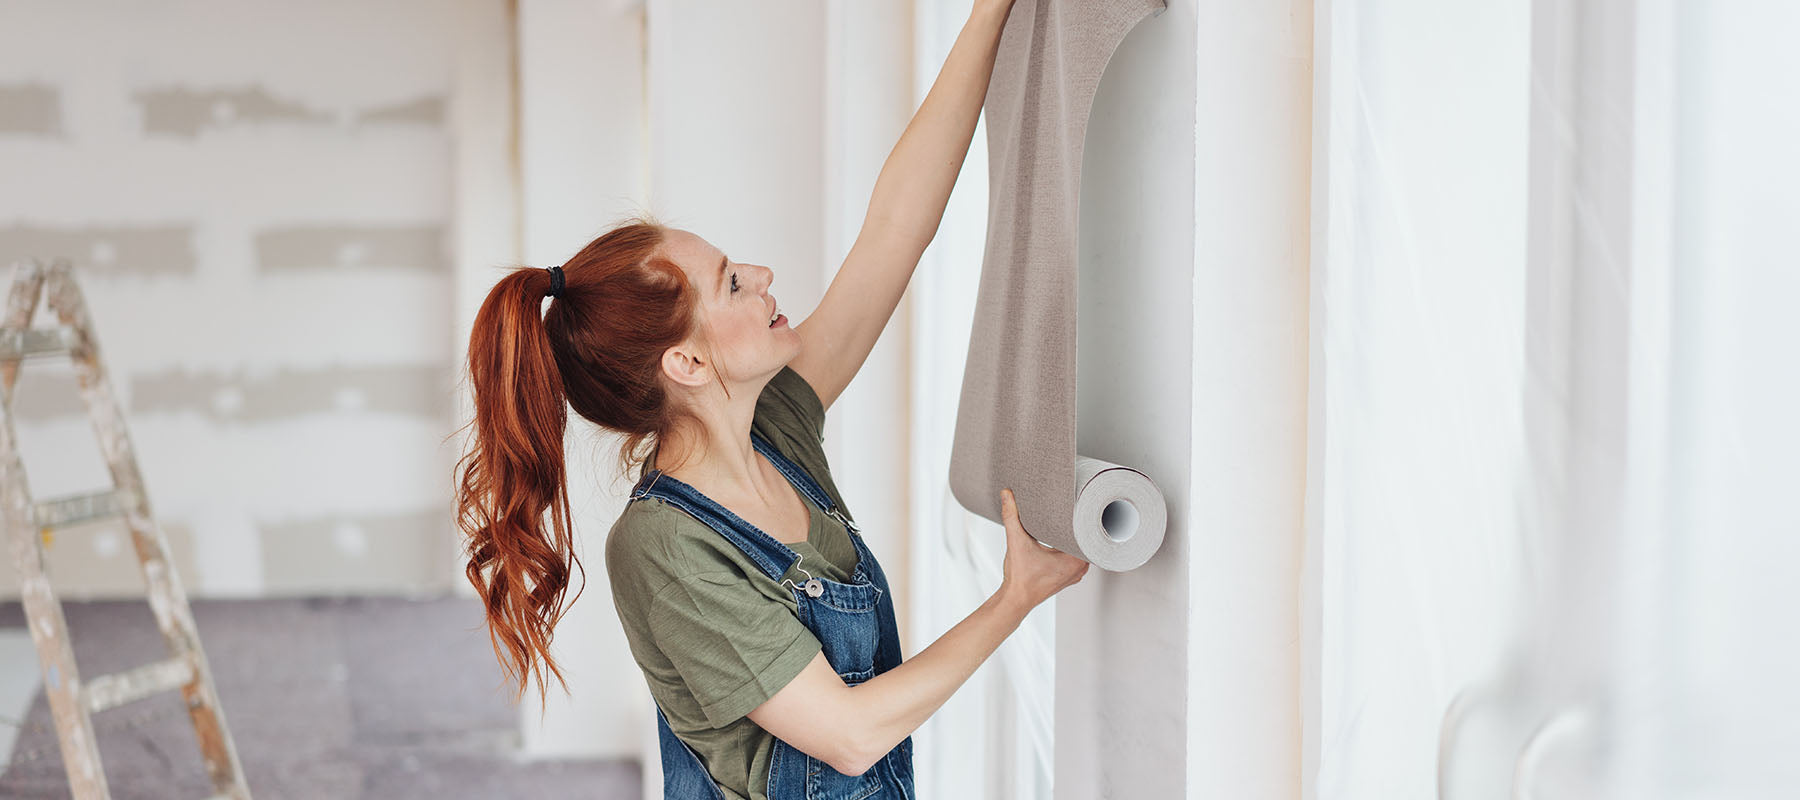
Hanging wallpaper is easily done with tools and supplies that you have in your toolbox or can be purchased affordably. When hanging wallpaper the most important tool you will need to have is patience! Take things slowly and measure twice while cutting only once. Here is a list of things you will need to hang wallpaper as well as some tips so you can hang wallpaper like a pro.
PRE-PASTED VS. UNPASTED
The first decision you will have to decide upon would be whether you want pre-pasted or unpasted wallpaper. Many wallpapers come pre-pasted, which means that the adhesive is already applied to the backing. When using this kind of wallpaper you do not need wallpaper paste during the application as you use a bucket of water to wet the wallpaper strips.
If the wallpaper is unpasted, you will need to apply wallpaper paste to the wall, to the paper or both with a roller or brush. You also need to let the paste “cure” for a few minutes before applying. Make sure you check your paper and paste for detailed instructions on how to use your particular product.
MATERIALS YOU WILL NEED TO HANG PRE-PASTED WALLPAPER
To get your wall ready for wallpaper, you need to fill any cracks or holes and sand down rough spots to make sure your surface is smooth and clean. You will also need to prime the wall and paint it the background color of your wallpaper. To ensure that the wall is properly sealed, choose a wallpaper primer or one that is oil or alcohol based. Make sure it cures before you install your wallpaper.
Make sure you have a pencil, tape measure and a level/plumb bob (a lead weight suspended from a string and used as a vertical reference line that finds what is exactly vertical) on hand before you start your wallpaper project.
To make your wallpaper project look like it was done by a professional, rely on smoothing brushes to get out any air bubbles and wrinkles as well as seam rollers to press the seams where the wallpaper strips meet. Tip: don’t press too hard, which can cause too much adhesive to seep out and weaken the seam.
Excess paper can be cut with a trimming tool such as a sharp utility knife and a straight edge as a guide. Use a clean sponge to wipe away extra adhesive.
If you follow these tips you will be hanging wallpaper like a pro!

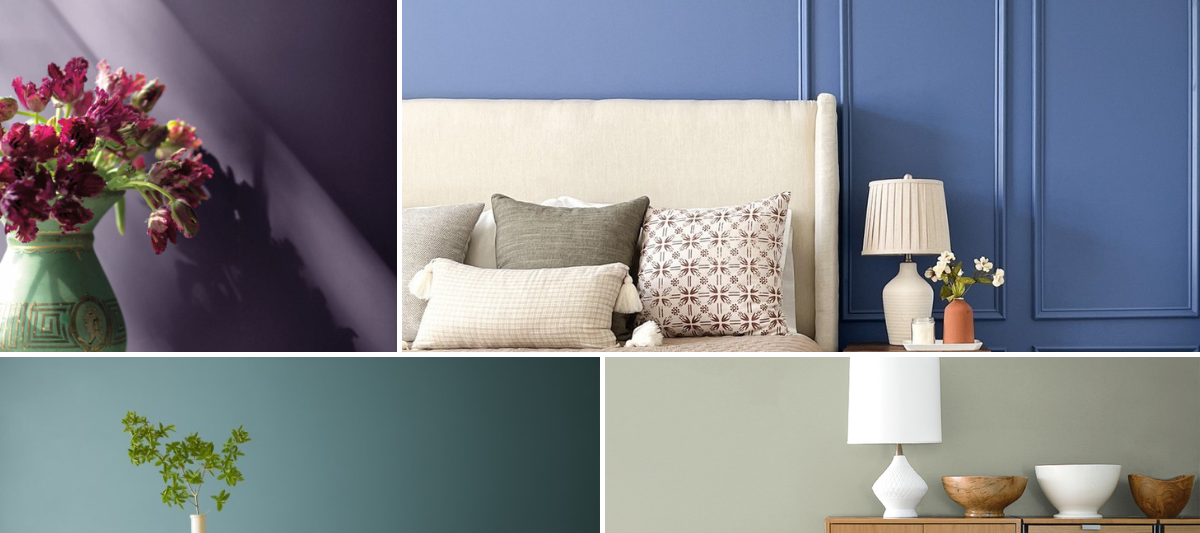
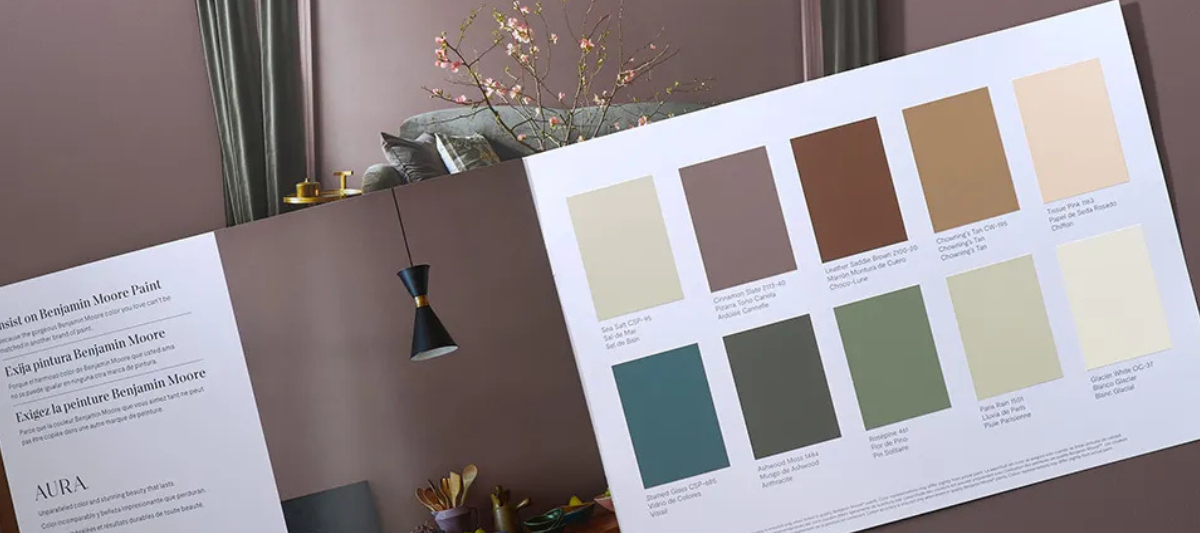
Find fresh color inspiration for 2026 with Benjamin Moore’s new Color of the Year and Color Trends Palette. Silhouette is a study in balance — rich yet restrained, moody yet inviting.

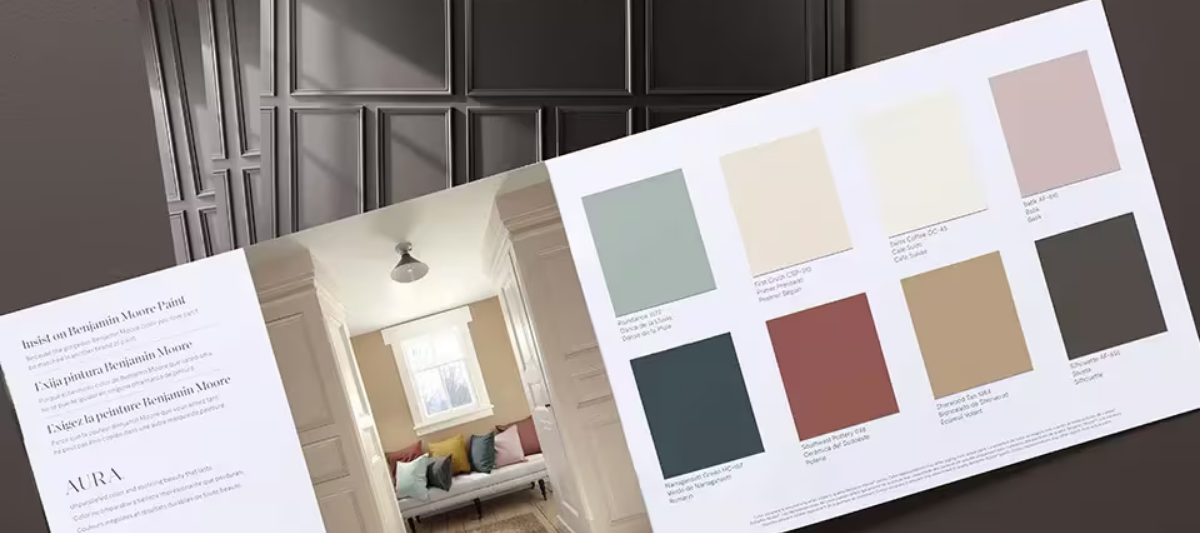
Every year, paint enthusiasts and interior designers eagerly await the announcement of Benjamin Moore’s Color of the Year, a paint trend forecast that sparks excitement and debate. Whether people are quick to embrace the color or need time to warm up to it, the influence on paint and design trends is undeniable. For 2025, Benjamin Moore introduces Cinnamon Slate (2113-40), a color that’s set to redefine how we approach interior paint choices.