Your Cart is Empty
Order for In-store Pickup or Local Delivery

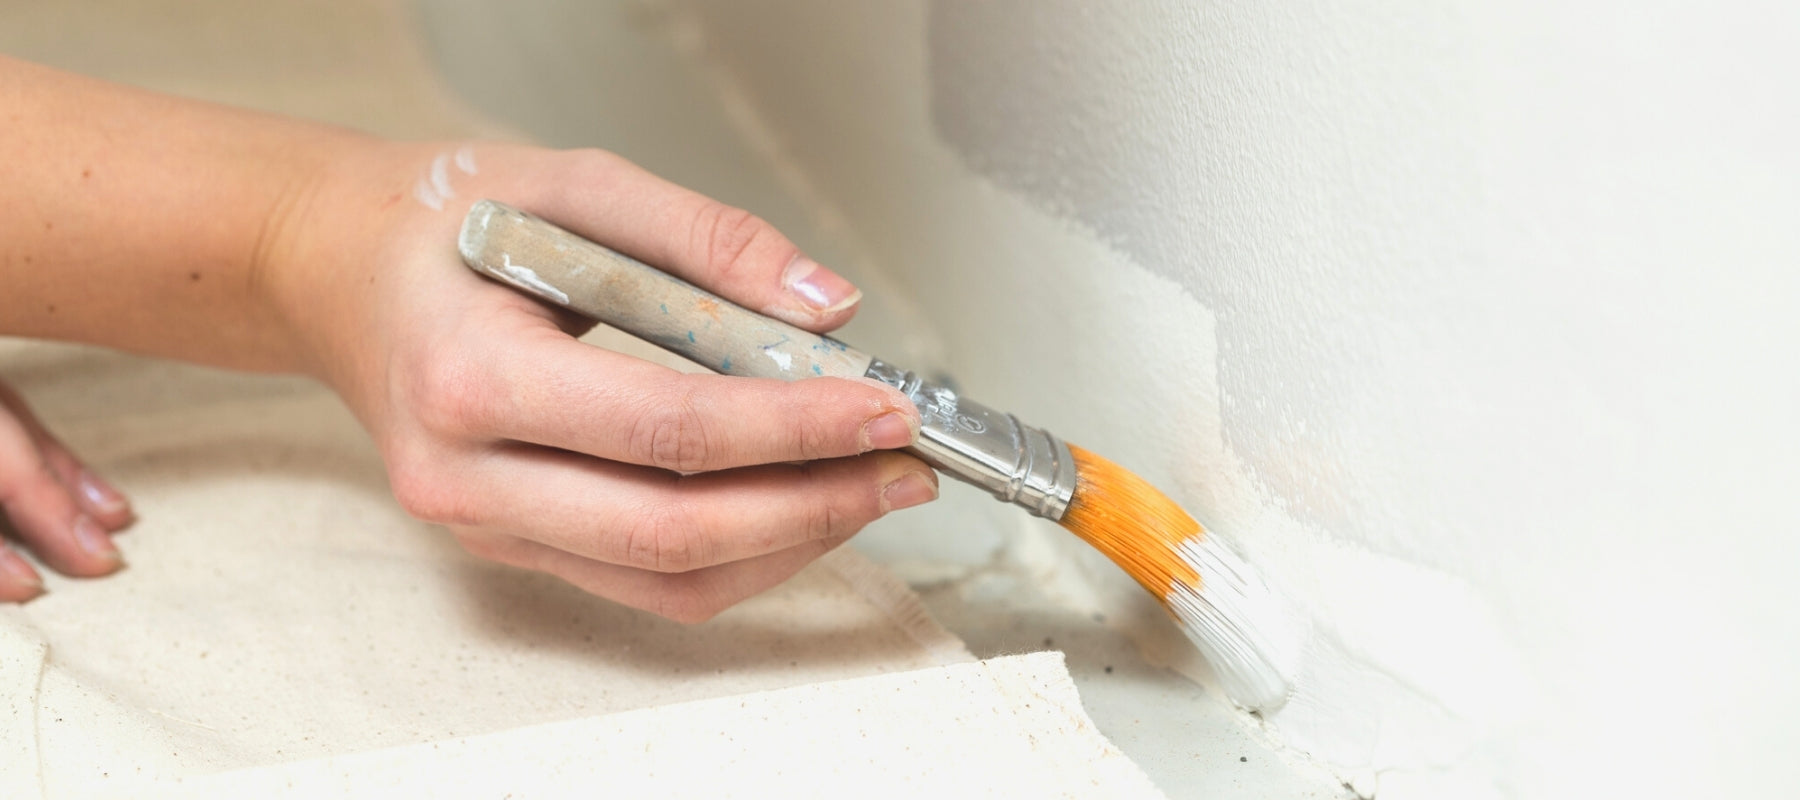
How to spot paint scratches, marks and dings without repainting the entire room
It happens. In the rush of daily life, walls in high-traffic areas of the home get scratched and scuffed. With a bit of time, patience and procedure, you can touch up those marks and keep your walls looking fresh and smooth. Before you start in on the six-step process below, remember that the ability to touch up a painted surface depends on the gloss and color of the original paint product, whether it is alkyd (oil-based) or latex, as well as the length of time it has been on the surface. The experts at Creative Paint can help you do the job right.
Step 1: Clean the wall surface
Dirt, dust and grime build-up can affect paint adhesion so it’s important to wipe down your wall before beginning. Using a sponge, lightly clean the work area with a mixture of mild detergent and water.
Step 2: Repair divots and dents
Premixed spackling compound can fill in any dents, nail holes or deep scratches that have accumulated on your wall. Before applying, smooth the surface with a fine-grit sandpaper, then use just enough compound to fill the hole or crack. Wipe away any excess with a damp cloth and allow it to set (this takes a few hours) before lightly sanding it again.
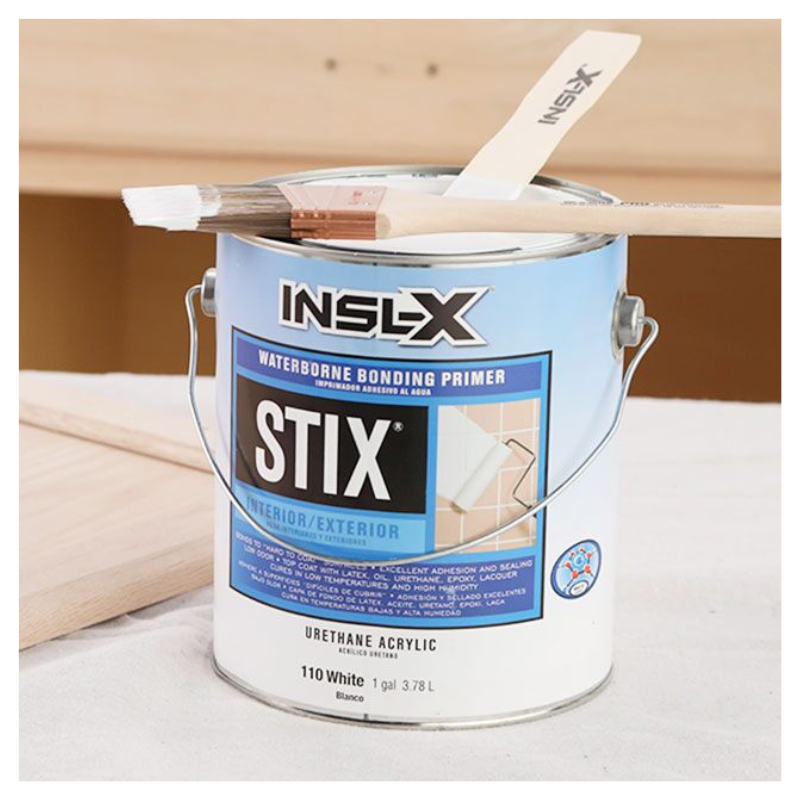
Step 3: Prime the area
To ensure proper paint adhesion and color blending, you must prime the repair area before painting. If you skip this step, the touched-up spot will stand out from the rest of the wall surface. Apply the primer just to the repair area and allow it to dry completely.
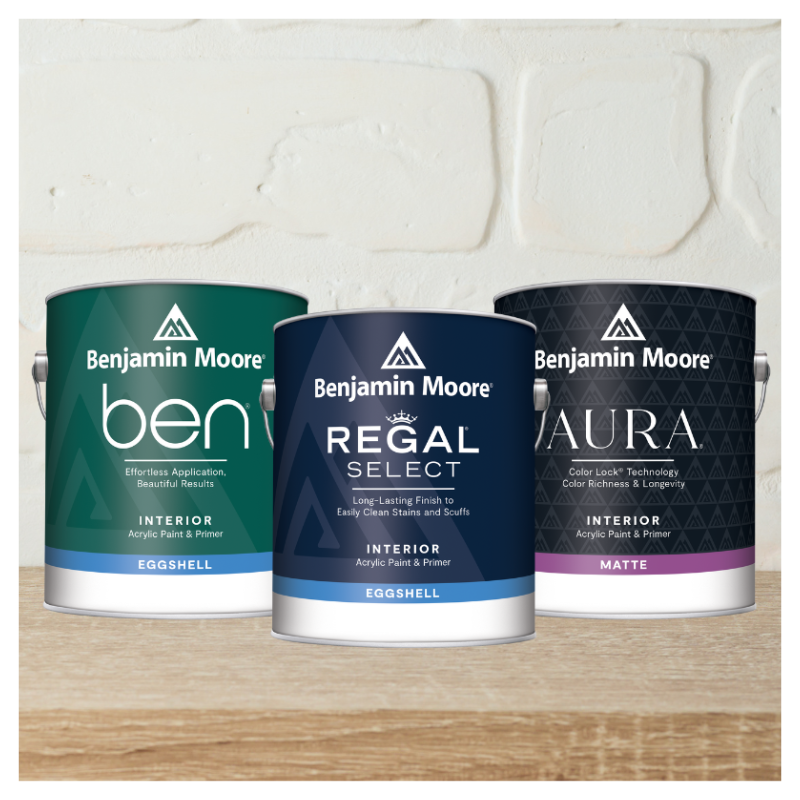
Step 4: Use the same paint
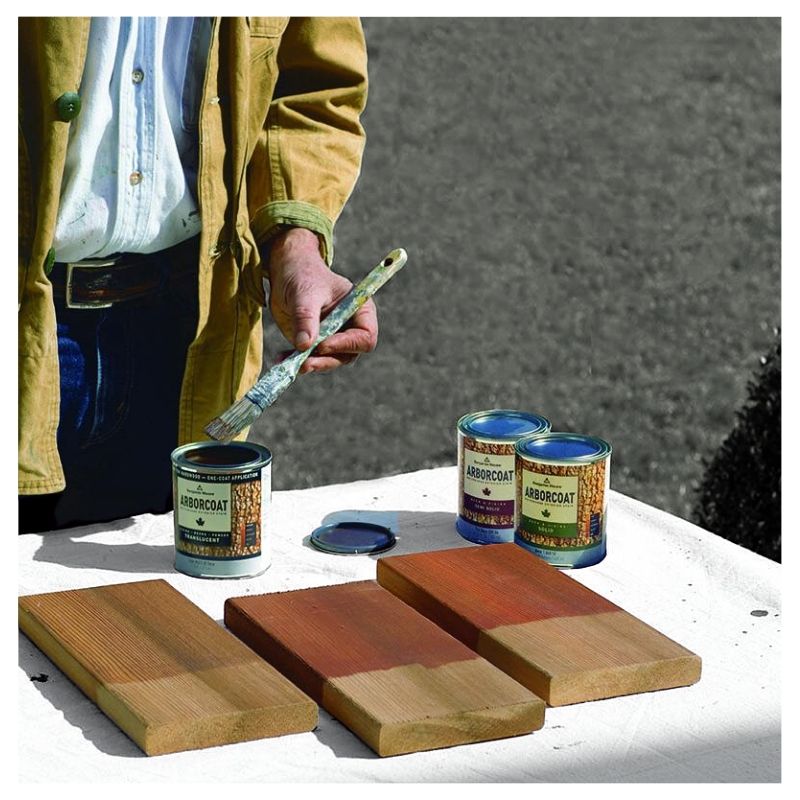
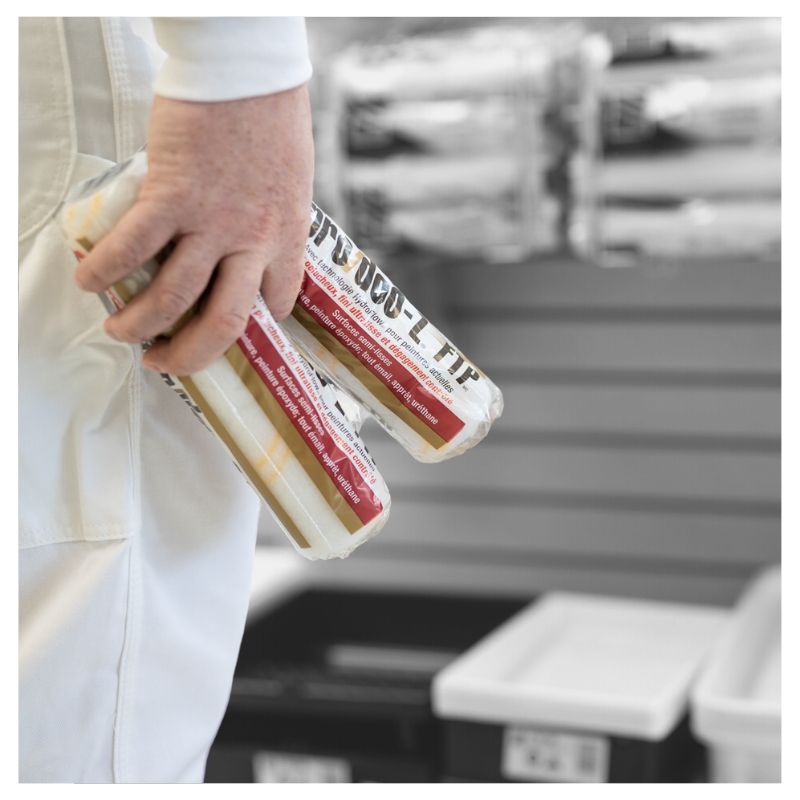
It’s always wise to store leftover paint so that you can use it for making repairs. In fact, your touch up paint should be from the original can – otherwise, matching colors could be mission impossible. If that’s not possible, return to your paint store and ask for the same brand, color and finish (flat, eggshell, semi-gloss, gloss).
Bonus tip: Alkyd paint loses 30% of its gloss after a few months, making new touch-ups appear too glossy for several weeks – even from the original paint can. Generally, latex paint makes touch ups easier because the paint’s age does not affect gloss of color.
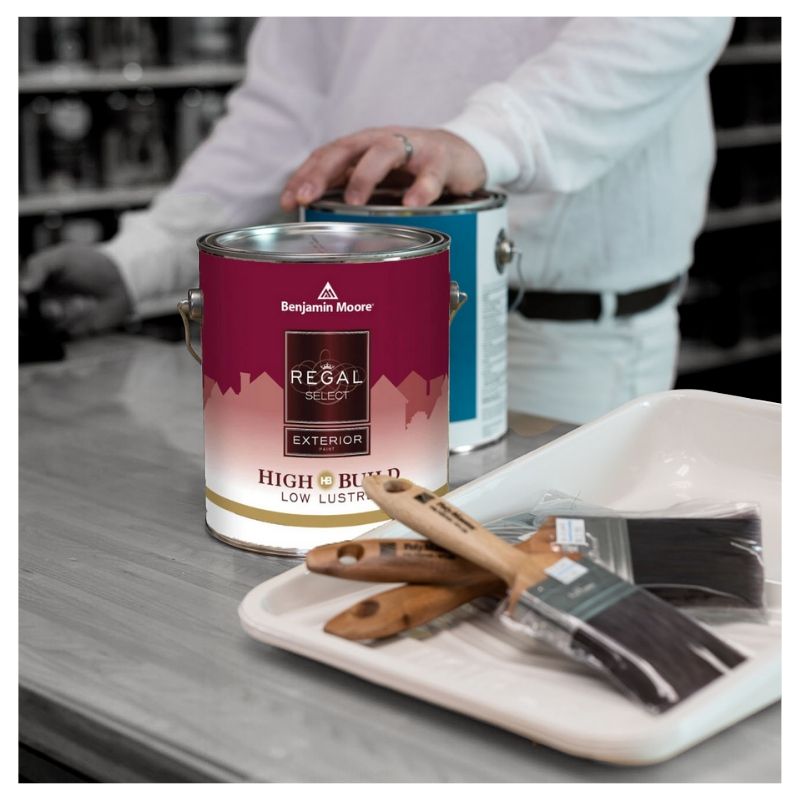
Step 5: Use the same application tool
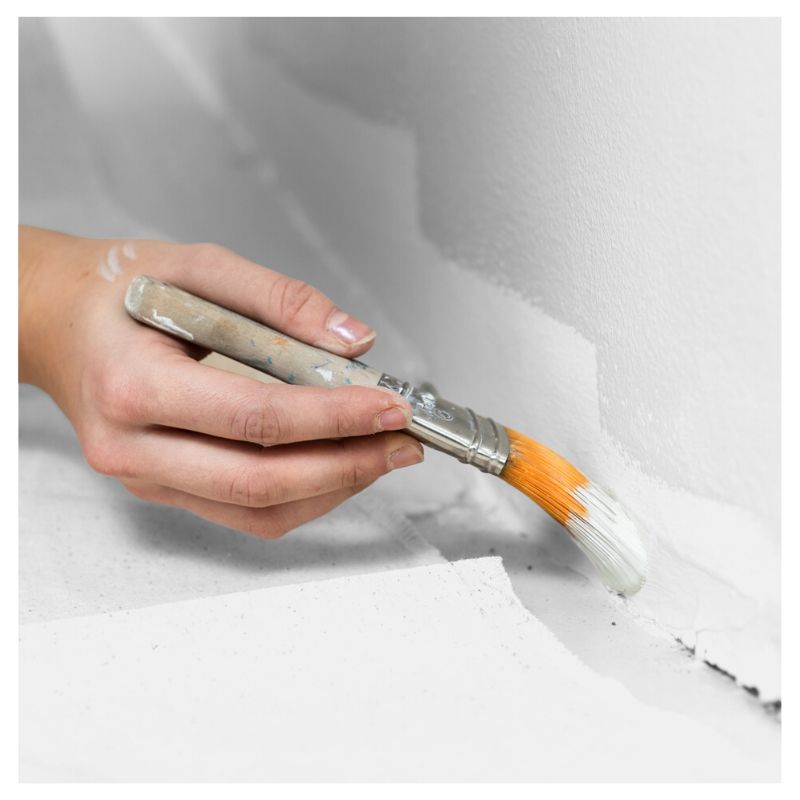
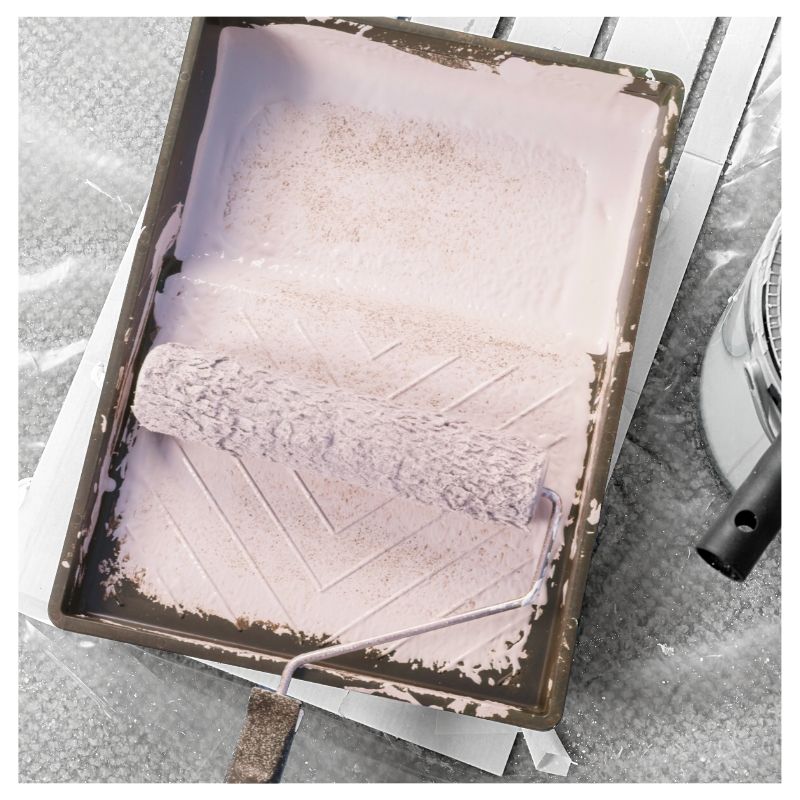
If the wall surface was originally painted with a roller, use a roller to touch up the paint finish. Brushes and rollers will leave different surface textures, making necessary repair jobs quite apparent.
Step 6: Inspect once dry
Let the paint dry before doing a visual inspection. You will want to see how it looks from different angles as well as in both natural and artificial light. Remember, even though you know where the patch is, visitors will not be able to spot it once the paint dries and ages.
Pop into Creative Paint for all the tips and tools you need to make quick work of any paint touch up job in your home.
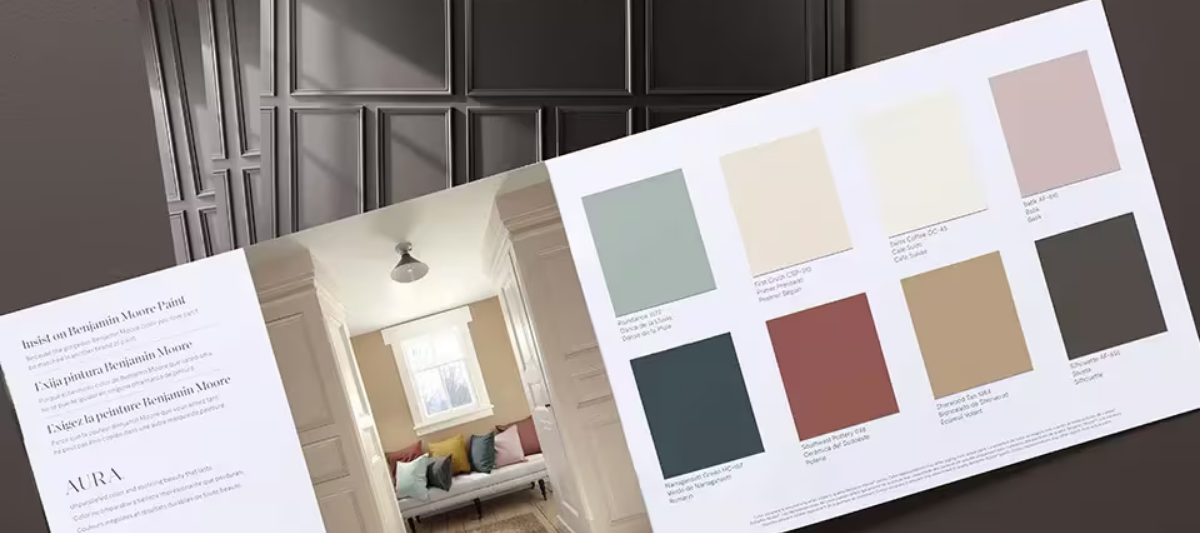

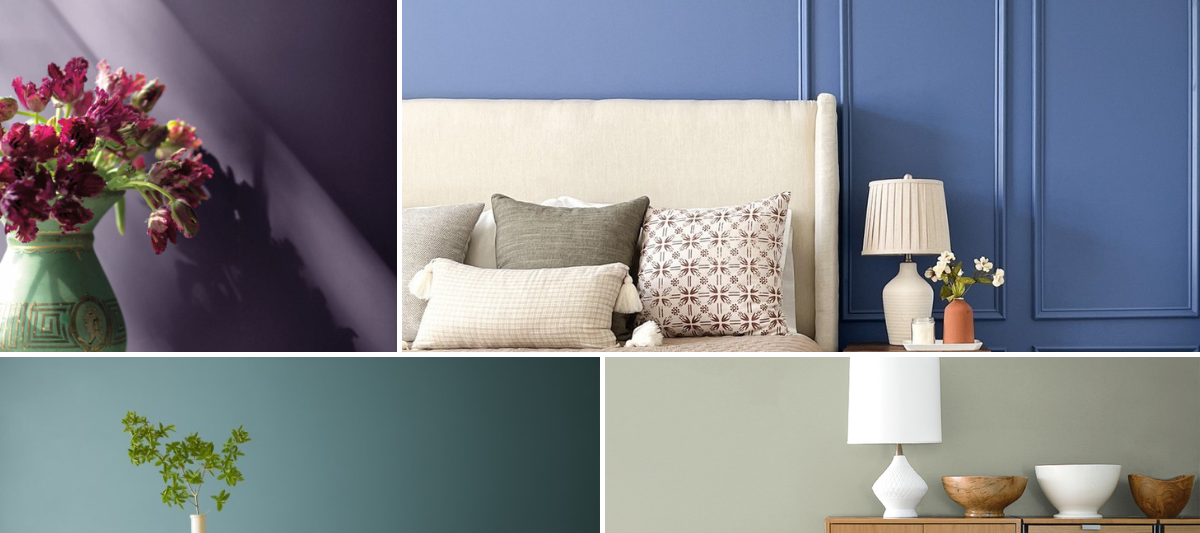
Find fresh color inspiration for 2026 with Benjamin Moore’s new Color of the Year and Color Trends Palette. Silhouette is a study in balance — rich yet restrained, moody yet inviting.
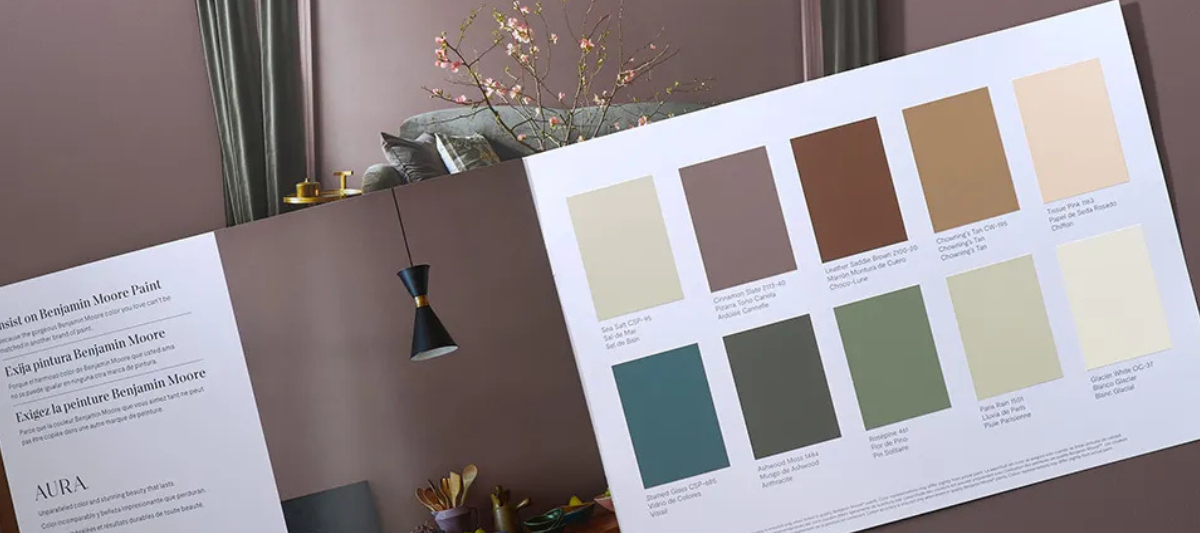

Every year, paint enthusiasts and interior designers eagerly await the announcement of Benjamin Moore’s Color of the Year, a paint trend forecast that sparks excitement and debate. Whether people are quick to embrace the color or need time to warm up to it, the influence on paint and design trends is undeniable. For 2025, Benjamin Moore introduces Cinnamon Slate (2113-40), a color that’s set to redefine how we approach interior paint choices.